
We spent two days deep in the dashboard of our 2018 Lexor* replacing the stock 5" OEM head unit with a Kenwood DMX1057XR featuring a 10.1" display.
*The Pleasure-Way Lexor TS is based on a Ram ProMaster 3500 Van.

The Original Radio

The New Radio
Kenwood DMX1057XR
Why Upgrade?
1) Much larger touchscreen.
2) Support for Apple Carplay and Android Auto. Navigation apps include Google Maps, Waze, and Apple Maps. Lots of other apps are also supported.
3) All the controls on the steering wheel work with the new radio.

5) Dedicated "CAM" rear camera button. We don't have to be in reverse to get the rear camera view.
6) HD Radio.

7) A Vehicle Info screen displays actual tire air pressure, battery voltage, the check engine light and odometer trip settings.
8) Physical Volume Knob
Many of the radios we looked at were purely touch screen. We prefer an actual knob so volume can be changed or muted without taking our eyes off the road.

9) Customizable Gauge Display
Two pages are available that display five user selected virtual gauges on each page.
See the update at the end of this post for a detailed list of the information available.
10) Even without replacing the speakers, the sound is noticeably better.

Disappointments
1) Transmission Fluid Temperature isn't available to display.
Note: There's more detail on gauge support in the 2025-03-22 update at the end of the post.
2) Despite the rear camera display being bigger, it isn't better. It also flickers when the brake pedal is depressed. This may be due to interference between the camera and brake light circuits. A higher resolution camera is probably the solution, but running wires the length of the ProMaster isn't something I'm excited about tackling.
What Did It Cost?
| Crutchfield | ||
| Kenwood Excelon DMX1057XR | 1,095.10 | |
| Metra Radio Removal Tool Pair | 6.77 | |
| Metra 95-6523 Dash Kit | 16.07 | |
| iDatalink HRN-HRR-CH3 hrCH3 | 55.00 | |
| iDatalink ADS-MRR2 | 177.12 | |
| iDatalink ACC-HU-KEN1 | 8.46 | |
| Euro Antenna Adapter | 16.92 | |
Amazon | ||
| USB Adapter | 4.99 | |
| Grand Total | $ 1,380.43 + tax | |
|
|
|
| ||
We bought the radio and adapters from Crutchfield as we've had good experiences with them and they allow returns within 60 days if a unit doesn't work out. They also sell pre-wired cables and interfaces that make installation much easier. Last, but not least, they provide free phone and chat support for DIY installers like us.
Credits and other resources:
Thanks to Bob Pogue, Peter Jolis, and Ed Wilts for sharing info that helped us with the decision and installation.
Bob Pogue's Pioneer radio installation is written up on his blog at B-Class.org.
"On the Open Road" made a helpful video of installing a similar Kenwood radio in a Travato. He does a great job of shooting video while working. Check it out at 2021 Travato Radio Install.
Installation
One installer in Florida quoted us about $500 to install a new radio. If you are interested in doing it yourself, the remainder of this post is about our experience doing the installation ourselves.
Note that we did this while camping at Jonathan-Dickinson State Park in Hobe Sound, Florida. It would have gone faster at home with our full set of tools. The install took us a little over eight hours, which included taking lots of photos and notes for this post.
Note that you can double click on any of the images to zoom in on a larger version.

Step 1 – Open & Program the Maestro RR2.
This is the interface that enables the steering wheel controls and allows the radio to interface with the Ram systems.

We downloaded and used their iPhone App to flash the firmware. The longest part of the process was establishing an account for Maestro's weblink. It took about ten minutes to get the confirmation email from Maestro. Instructions and more info is available at Maestro's website. Maestro iDatalink

Step 2 – Disconnect the Power
Before doing any work that involves electrical devices, it is always important to disconnect the van power system. In this case, the radio is powered from the ProMaster's starting battery.
Remove the panel in the driver side footwell.
Disconnect the (-) cable from van starting battery.

The negative (-) connection can be unclipped by hand.
Note: If you also have a house battery system, make sure that it is disconnected from the chassis electrical system. Even after removing the negative cable from our starting battery there was power at the radio.

We traced our issue to the battery separator solenoid under the hood. Unplugging the ground wire (bottom yellow circle) insured that the relay wasn't connecting the house and starting battery systems.
For more information on the battery separator, check out this post from 2023:

Step 3 – Remove the OEM Radio
Find the two Metra Clips and insert them into the holes on the face of the old radio.
It takes some pushing to get them to click in.

After the clips are seated, pull to the sides and outward to release the radio.

Now you can gently pull the radio out of the dash.

Step 4 – Unplug all the connections to the old radio.
From left to right:
The first plug is the Sirius XM Antenna.
The second plug is the Radio Antenna.
The third plug is the USB connection.
The long grey plastic piece is just a mounting pin.
The big rectangular plug is for everything else.
These plugs can all be reused, with adapters, in the new radio.
note: We didn't use the blue plug because we didn't buy a SiriusXM radio adapter.

Pull out on the latch to release the wiring harness.

The harness plug looks like this after the radio has been released.
With everything disconnected you can put the old radio aside.

Step 5 – Remove the Dashboard Top Panel
Removing the panel makes it much easier to work on this job.
You only need to remove two screws to release the top. This screw in the upper left hand corner (circled in yellow) is one, and it has a match in the upper right corner.
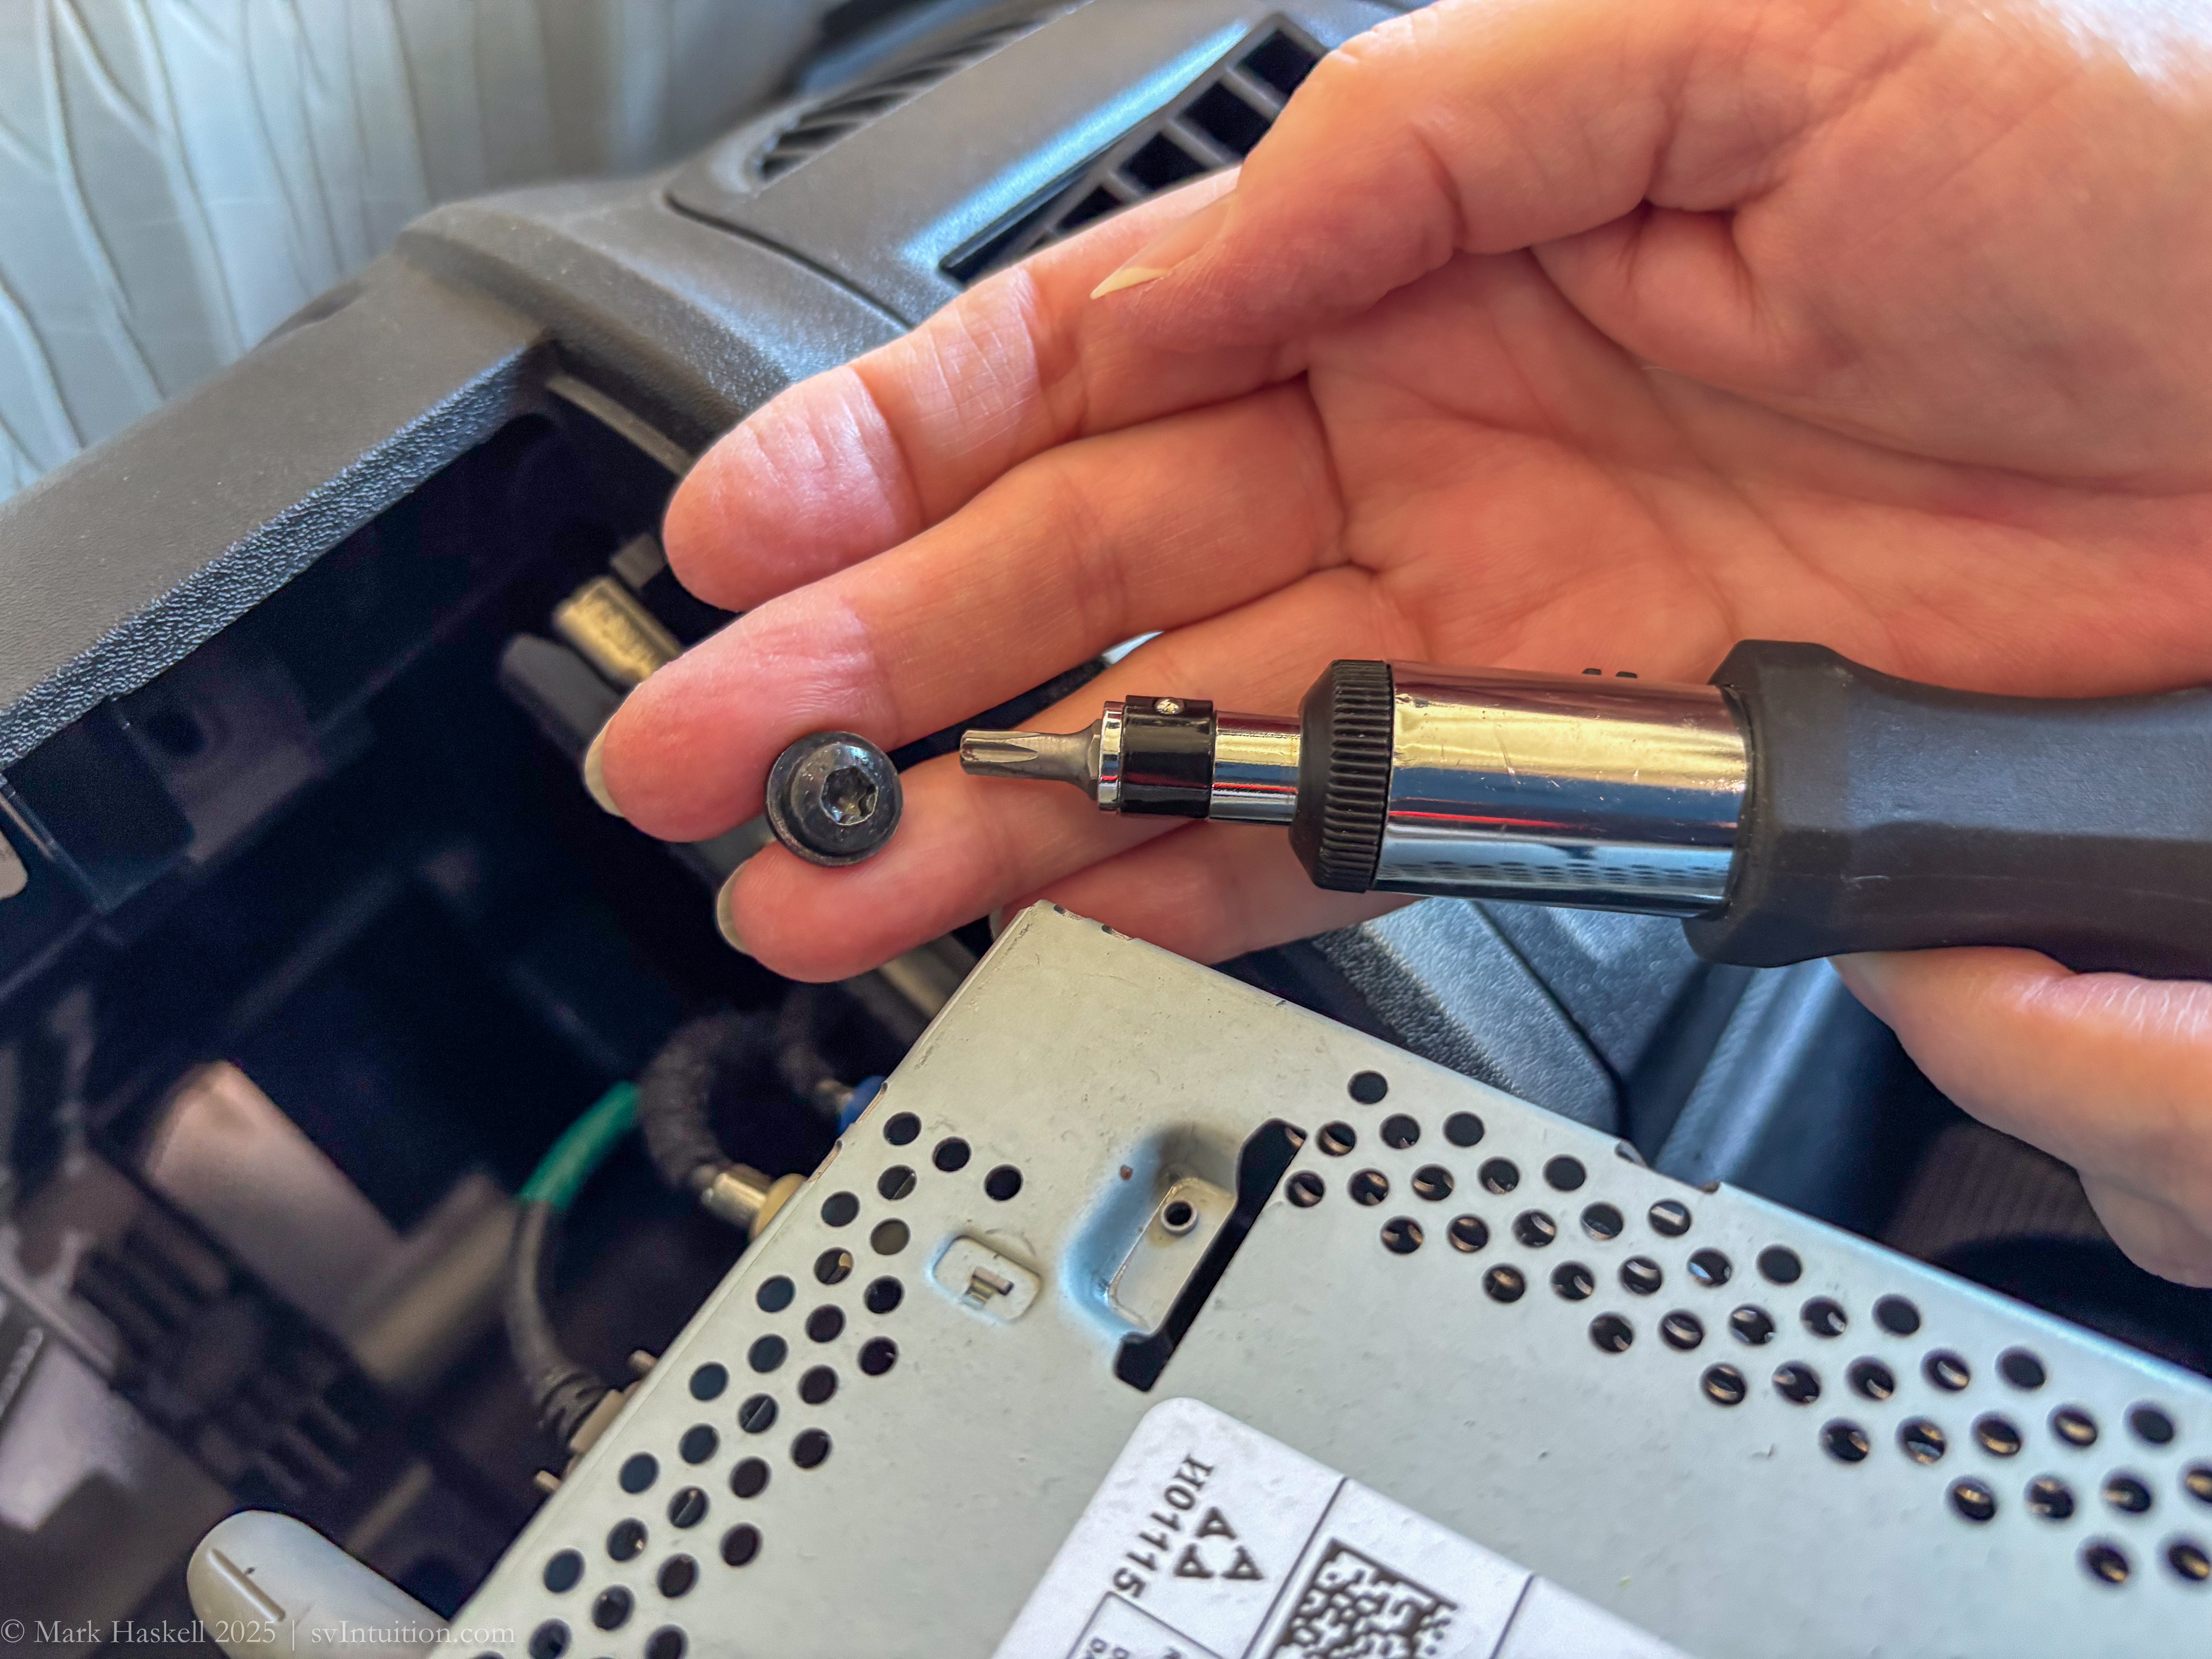
These screws require a star 20 bit.

Here you can see how opening the front and the top of the dashboard gives great access to the radio and connectors.
Step 6 – Stop for ice cream. This was a very important step for us. We have priorities!

Step 7 – Install the Metra Trim Kit Brackets
Follow the Metra trim instructions. Remove the original metal radio brackets.
Remove the 2 screws securing left metal bracket using a Phillips #2 bit.
Repeat for right bracket.

The new brackets are going to be screwed into the bottom holes of the dashboard opening.
Since the OEM radio had no bottom screws, we removed a retaining clip from the bottom side bracket on each side.

The clips were then relocated to the bottom screw holes. The clips give the screws something to grip.

Install both side brackets. Each bracket gets one screw in the bottom of the dashboard opening. The photo shows the left bracked with the screw installed.

This photo shows both brackets installed. They are plastic and much less substantial than the original metal brackets, but worked out fine in the end.

Install the Metra side brackets onto the new radio

The brackets aren't specific to this radio, so they need a slight modification. Note that this pin is in the way.

Cut off the pin so the bracket can fit flush with the new radio. Hopefully you will have a better knife than we did!

Use four screws to install each side plate. We experimented with the placement of the bracket and this position made it flush with the dashboard.

Once the plates are installed you can slip the radio most of the way into the dashboard. This allows some slack for attaching the cables and antennas.

Step 8 – Follow the Maestro Wiring Instructions
Access from the top of the dash really helps here.
Attach the pre-made cables to the Radio and iDatalink interface according to the Maestro instructions. We used Maestro's "Install Guide for the 2014-2021 Ram ProMaster."
If you buy the unit from Crutchfield, call them if you have any questions during the process.

Maestro Step 1
• Connect the HRR-CH3 harness to the adapter

Maestro Step 2
• Unplug the WHITE 2-pin connectors and plug the WHITE to the RED connector of your HRR-CH3 T-harness.
•Connect the factory radio harness to the HRR-CH3 T-harness

Before moving on to the next to steps in the Maestro Install Guide, it helps to get the Microphone and ODBII cables run from where they will reside to the radio compartment.
Find the OBDII Cable.
Plug the large connector end into the dashboard port in the driver's side of the dashboard.
Run the wire behind the dashboard, behind the center console and into the passenger footwell area. Make sure it is routed so it can't interfere with your steering wheel, brake, or accelerator.

Find the Microphone Cable
Place the Microphone where you want it. We chose to clip it on the ledge behind the steering wheel.

Run the wire behind the dashboard, behind the center console and into the passenger footwell area.

Look down from the top of the dashboard opening and you can see a path to the passenger footwell.
Drop a cable, or a weighted line down through the open area.

Secure the Microphone and OBDII cables to the line with a twist tie.
Pull the cables up into the radio compartment.
Now return to the Maestro Installation Instructions
Maestro Step 3
• Unplug the BLACK 2-pin connectors of your HRR-CH3 T-harness.
• Plug the BLACK 2-pin connector of your HRR-CH3 T-harness into the OBDII CH3 cable.
• Plug the OBDII connector into the OBDII of the vehicle.

Maestro Step 4
• Plug the harnesses into the aftermarket radio.
• Plug the Data cable to the data port of the Kenwood radio.
• Insert the Audio cable into the iDatalink 3.5mm audio jack of the Kenwood radio.

Step 9 – Connect the ProMaster USB port (near the steering wheel) to the new radio using an adapter.
This is one of the few areas where I was disappointed with Crutchfield. Two advisors said there isn't a way to do this, but we easily found a "USB 2.0 A Male to USB B Mini 5 pin Female" adapter on Amazon. We shared the info with Crutchfield, so they can update their database.

The RAM USB mini cable we disconnected from the OEM radio feeds the built-in dashboard connector on the driver's side.

The Kenwood has a USB A cable.

Plug the two cables into the adapter and you will have a successful connection! You might want to wrap this with electrical tape to insure it doesn't come apart over time.

Step 10 – Connect the Radio Antenna.
Find the Metra 40 EU-10* adapter.
Plug the green end into the white antenna connector from the old radio and the other end into the antenna jack of the new radio. The blue antenna connector Beth is holding here is for an optional Sirius XM satellite adapter, so we left it disconnected.
*The ProMaster is based on the Fiat Ducato, thus the need for an EU antenna adapter.

Step 11 – Connect the GPS puck to the radio.
We placed the puck in the radio compartment as far forward as possible. It needs a indoor view of the satellites. Hopefully it will get a good signal here. If not, we will put it on the dashboard later. We like not having wires visible on the dash.

Step 12 – Secure the Radio Chassis.
Tidy up all the wires and the Maestro interface behind it.
Slide the radio fully into the dashboard opening.
This is how everything looks viewing through the top of the dash.

Step 13 – Reinstall the Dash Cover.
Put the dash cover back over the radio. Reinstall the two screws to secure it.
We didn't put our screws back in. The cover doesn't seem to rattle and we have easy access to the radio and interfaces if we decide to adjust anything.

Step 14 – Install the Surround Frame
Install the white clips on the Metra surround frame and click it into place around the radio.

Attach the screen according to the Kenwood instructions.
Angle and height are adjustable. We chose the highest position so the screen didn't interfere with the gear shift lever. At lower positions my hand would hit the screen when moving the shift lever into park.


Step 16 – Test the Radio
Turn the ignition key to ACC, and try the new radio.
There are lots of settings and options you can customize. Be sure to spend time with the manual so you can take advantage of all the features.
We're enjoying the upgrade and still learning how best to configure it for our travels.
This post is being finished almost four months after installing the radio. I shouldn't have waited so long between the actual install and the write-up, but sometimes life gets in the way.
If you have any questions or suggestions please leave them in the comments section below.
Update 2025-03-22
Looked more at the Customizable Gauge Display
Two pages are available to display 5 user selected virtual gauges on each page. The options are:
Acceleration
Accelerator Pedal PositionAverage Fuel EconomyBattery VoltageBraking DistanceBoost/VacuumDist. to EmptyEngine Coolant TempEngine LoadExhaust Gas TempExternal Air TempFuel LevelInstantaneous Fuel EconomyIntake Air TempIntake Manifold Air PressureMass Air FlowQuarter MileRPMThrottle Plate PositionTiming AdvanceVehicle SpeedZero to 60 Mph
The following items appear on the Kenwood selection screen, but aren't receiving the information needed from the vehicle through the iDatalink interface. An "X" is displayed in front of these selections.
X TorqueX Transmission Fluid TempX Air Fuel Ratio
X Engine Oil Temp
X Fuel Pressure
Called Crutchfield to see if there is a way to get display the Transmission Temperature. They referred me to Maestro. They responded quickly saying that they might be able to do a software update if they knew the specific code (PID) that the ProMaster uses for the Transmission Fluid Temperature. I did some internet searches and found a post on the ProMaster Forum with this data.
Transmission Fluid Temp (°F)
TXD: 10F1229110
RXF: C46205913610
RXD: 3010
MTH: 000100400000
NAME: ATF
TXD: 10F1229110
RXF: C46205913610
RXD: 3010
MTH: 000100400000
NAME: ATF
An engineer at Maestro said that these codes are supported and I should try a reset of the Maestro RR. Unfortunately the reset didn't seem to make a difference. We still haven't been able to select the Transmission Fluid Temperature.
Kip, at ProMaster's Only, is working on an app that will display the fluid temperature, so we are watching his progress. Click on the blue link to see his video on testing ODB dongles.
Nice writeup. I did the same upgrade a few years ago and I'm glad to hear the rear camera flicker when the brakes are on wasn't my bad wiring job!
ReplyDeleteThanks! I hope you are liking the radio.
DeleteDid you get it to display Transmission Fluid Temperature?