1) Replace the existing battery with one that has greater capacity and fits in the existing battery space.
We had good experiences with Lifeline AGM batteries in the sailing version of Intuition, so we ordered the largest battery that we think will fit in the space. It is a GPL-31XT and boosts our capacity from 100 to 125 amp hours. AGM's also have low self-discharge rates and are generally accept a higher current charge than traditional flooded cell batteries.
2) Add a monitor so we have a better idea of how much capacity is available. See the next post for detailed info on that project.
Battery Installation
Parts Used
12" Battery Hold Down Bolts (J hooks)
Universal Cross-bat Battery Hold down
2 Wood Blocks
The 100 amp hour sealed lead acid Johnson Controls house battery is located under the hood. The starting battery (identical to the house battery) is located under the driver's feet.
 |
| Original Equipment House Battery |
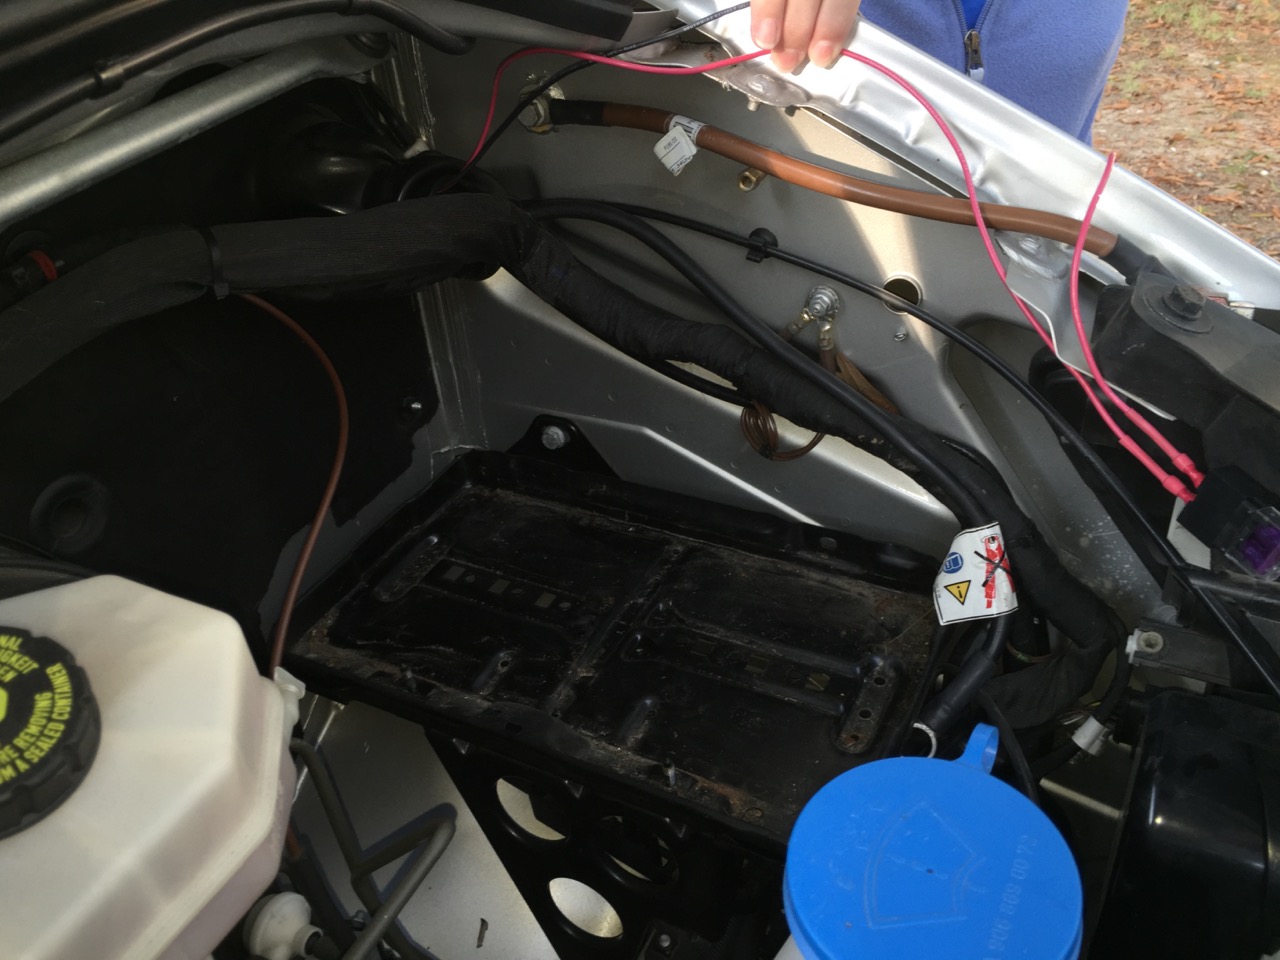 |
Battery Tray sans Battery
The new battery is different enough that it won't slip right in without a few changes. The Lifeline is a group 31 battery, so is physically larger than the original battery. The method of securing the two batteries is also different. The original is held near its base by a foot that slips into a slot in the battery. The Lifeline has no slot, so needs to be secured by a battery hold-down clamp. We purchased a set of 12 inch long Hold-down Bolts and a Universal Crossbar Battery Hold-down. These were SuperStart branded at O'Reilly Auto Parts. The hold-down crossbar didn't quite seat on the battery top correctly, so we added two scrap blocks of wood that slid into the center handle spots on the Lifeline. With these in place the hold-down clamp seats perfectly and applies pressure evenly across the battery. The last step in preparation was to cut the wire ties holding the harness that passes through the firewall. The gives the wires a little more flexibility.
Beth & I were wimpy and called on our good friend Pat Gaglione to help us place the 74 pound battery. Rather than just help, he wheeled out his tools, pulled the old battery out and hefted the new one in. It is a tight fit to squeeze the additional 2 inches of height underneath the wire harnesses passing through the firewall. Thanks to his finesse developed over years of restoring cars as a hobby, the battery slid right in. I really appreciate this great guy.
We did notice that the battery terminals are reversed from those on the original battery and switched the connections when hooking them back up. The ground (-) cable was just long enough to reach. The positive cable has plenty of length and was no problem.
Wire ties still needed to be attached to clean things up in the photo below, but it should give a general idea of how the new battery fits. There is nothing we did that can't be undone to restore the original battery. We are excited to have more power. The next post will have info on how we installed the Smartgauge monitor. |
 |
New Battery as Installed
|
 |
| Original Equipment Starting Battery (not replaced) |
No comments:
Post a Comment
We appreciate your comments! They will be published as soon as we get a chance to read them. Solicitations will not be published.