The monitor included in the van is used for all of the systems; water tanks, propane and battery power. The readings are simple lights at Full, 2/3 and 1/3 which really isn't sufficient to know your usable capacity.
We installed a Balmar Smartgauge based on reviews at several cruising web sites. We first heard about it from Ben Ellison who runs Panbo.com, devoted to marine electronics, some of which have crossover usage in RV's. We ordered our Smartgauge from Compass Marine after finding RC Collin's detailed review of battery monitors to be very helpful.
Another option would have been to install an amp hour meter, like the Trimetric by Bogart Engineering.
The thing that swung us to the Smartgauge is that it gets more accurate over time, while amp hour meters get less accurate. Either would be far preferable to the existing idiot lights.
Our new set-up is the Smartgauge along with a remote pendant that shows the status of the Intellipower 7200 converter (battery charger) that was installed by Pleasure-way. The Smartgauge is displaying that we are at 77% of capacity. Set-up was simple with a couple of button pushes to program our battery type as 1 of 7 types. Note that Lithium Ion batteries are not supported.

The remote pendant is an inexpensive addition. It comes with a telephone style cord that plugs directly into the converter and sticky tape for installation. One LED indicates the charge mode based on how it is flashing. A single button allows for manually changing between modes.

The Smartgauge uses two sense wires that are attached to the battery. We chose to install the readout near the back of the van, so ran wires from under the hood to the couch near the rear. The details follow for anyone interested.

The positive wire should be fused, so we mounted the included fuse block at the front of the engine compartment. One hole, a bolt, and a locknut were used to mount the plate.

The fuse block then simply snaps onto the plate. Ring and spade terminals are included, so we crimped one at each end of a length of red 14 gauge wire between the battery and the fuse block. To make the connections a little more robust, we added heat shrink tubing over the crimped connections.
Next we attached a spade connector to a 50' spool of red 14 gauge wire that will run from the fuse block (+) to the Smartgauge. Likewise, we crimped a ring connector to a 50' spool of black wire that will run directly from the battery (-) to the Smartgauge.

The connected (-) sense wire is shown above. Our Lifeline battery has a convenient bolt on the top of the battery post that fits the larger of the two ring terminals included with the Smartgauge.

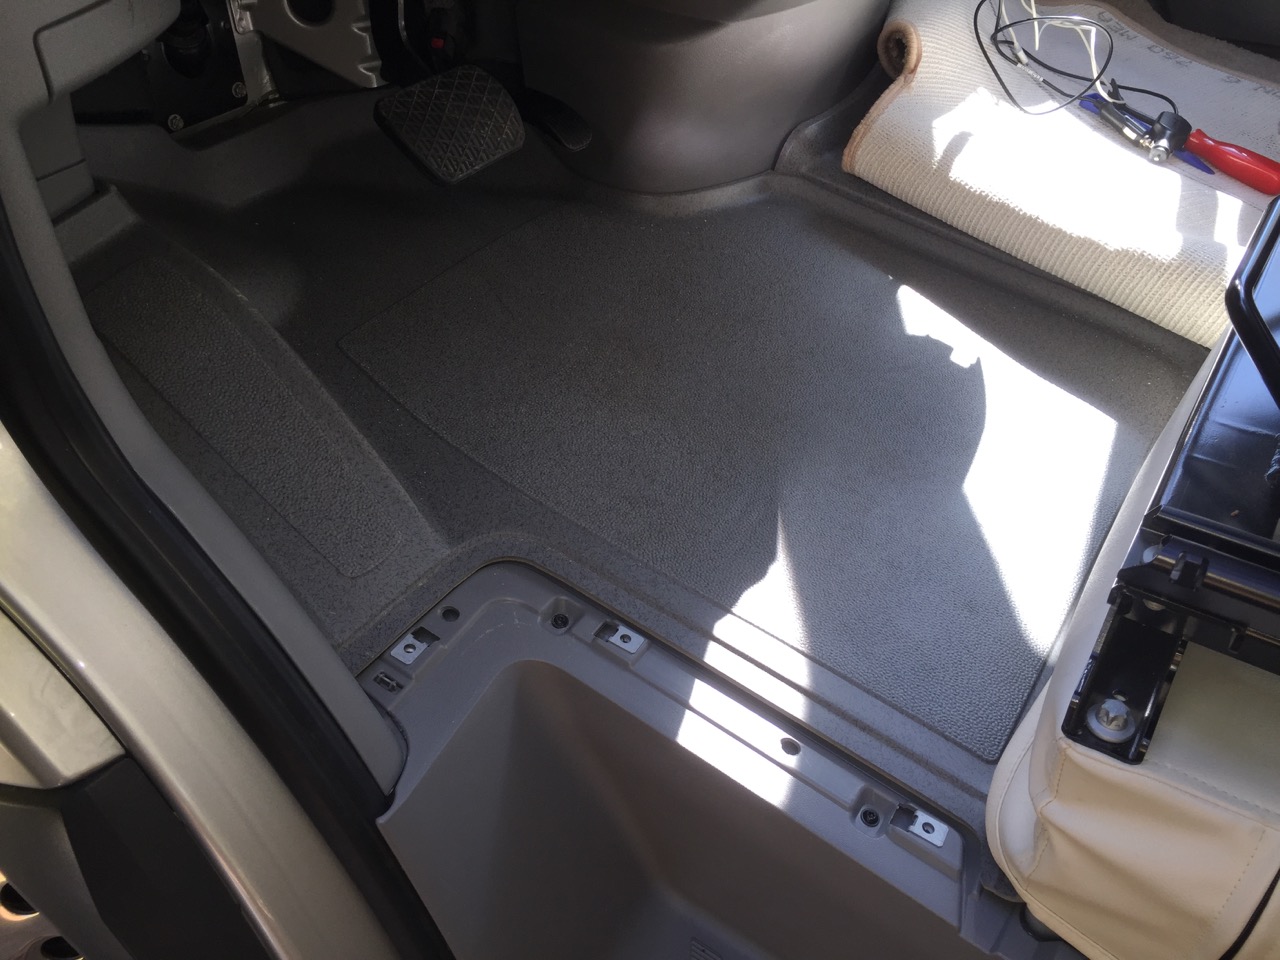
There is a pass-thru in the firewall right above the battery. We pushed the wires through here and retrieved them inside the van, just outboard of the steering wheel. From here they go down the driver side step to head toward the bathroom.

We removed the carpet and then the three screws from the battery access floor edging.
This reveals more screws that hold the step cover.

The hardest part of the project was removing the plugs covering three screws in the step cover.

Note that the covers are diagonal plugs. We used a small screwdriver to pull them out.

Here is the underside of the step cover.

We ran the wires just under the door gasket so they shouldn't be damaged by any weight on the step.

The wires can then be passed into the bathroom. We removed the small shelf that covers the wire and plumbing access by removing the two screws in the metal rack. We found that one of the screws wasn't threaded into the wood, so that will be another small project upon reassembly. We will also need to re-caulk the seems prior to using it for a shower.

Here is a view into the chase. There was just enough room for me to get my hands in there to pull wires.
 The next compartment is where the hot water heater sits. Four screws allow access to this area.
 From here wires run under the heater fan duct into the wheel well area. A metal tape was used to pull through this small opening.
 The wheel well area is accessed under the settee cushion. Wires are pulled through and out towards the couch along the same route as the couch motor wires. The power converter is the silver box with fins. This is where the pendant is attached using the included phone style cord.

The wires can then be passed into the bathroom. We removed the small shelf that covers the wire and plumbing access by removing the two screws in the metal rack. We found that one of the screws wasn't threaded into the wood, so that will be another small project upon reassembly. We will also need to re-caulk the seems prior to using it for a shower.

Here is a view into the chase. There was just enough room for me to get my hands in there to pull wires.


This is a close view of where the wires pass through from the water heater compartment.

Finally, we installed the Smartgauge and pendant on a board between the couch and the settee. This may not be the permanent placement. We didn't want to make any visible modifications to the beautiful woodwork, so opted to use L brackets under this shelf. We left the wires long enough to mount it elsewhere in the future.

And now for the rest of the story... For those of you who made it this far, we found a frog skeleton in the fuse compartment under the drivers seat. Don't know when or where this poor little frog was trapped in there, but we hope it was before we owned the van!
Mark&Beth, Nice install. The van looks very, very clean, like new in the view of the engine room. Jim
ReplyDelete